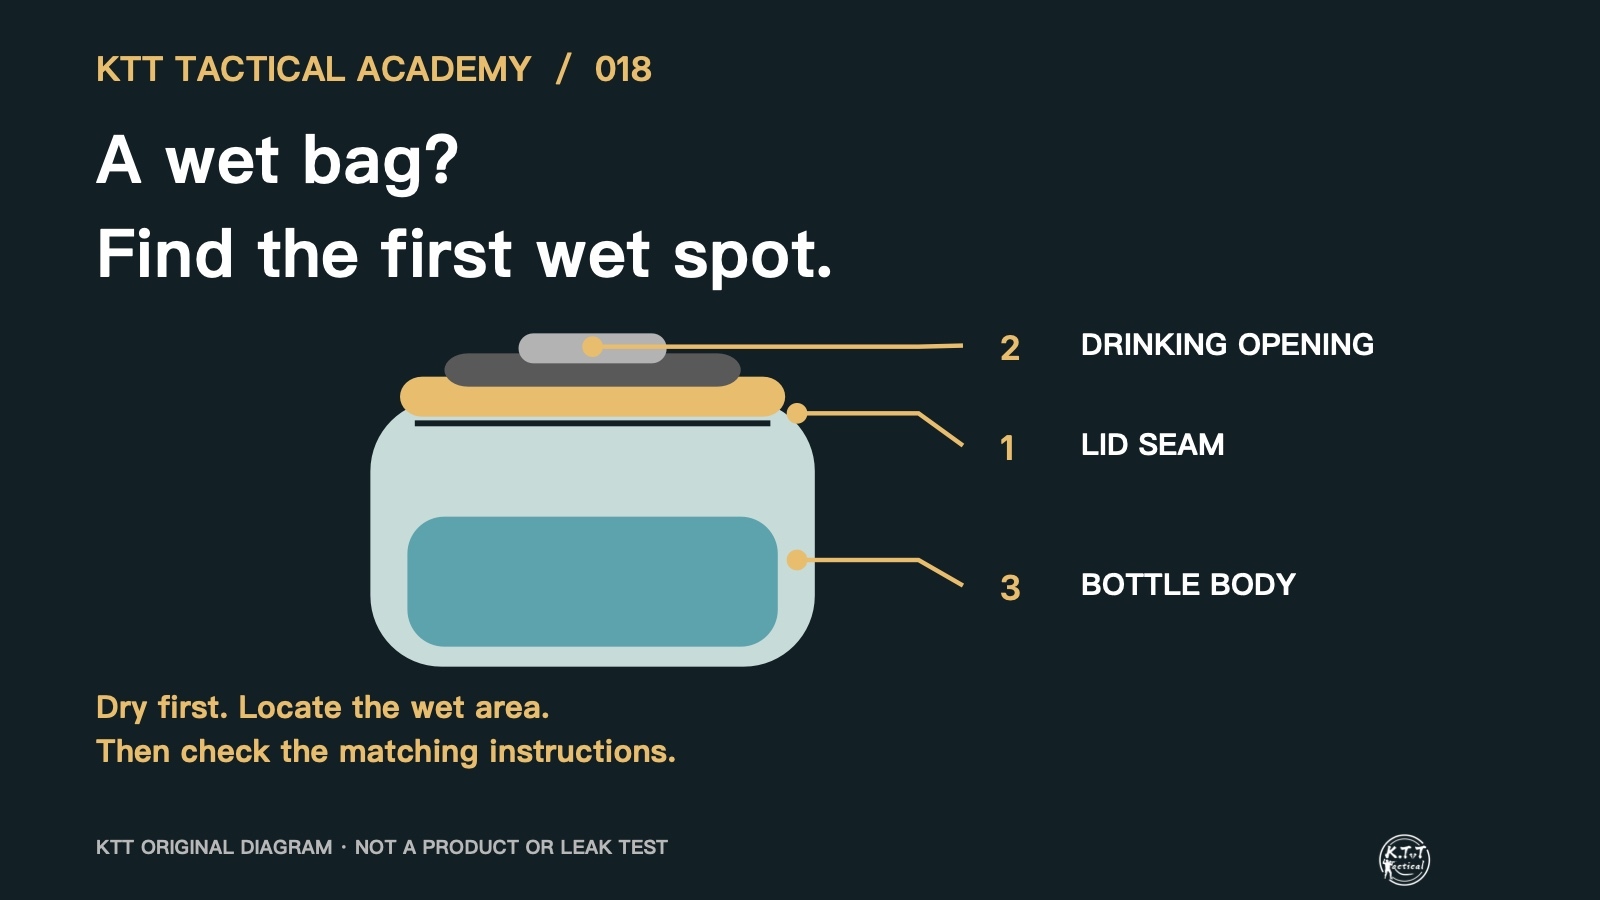
You arrive at work, open your bag and find a wet edge on your notebook. Before taking the lid apart, dry the outside of the bottle and move it beside a sink. Look for the first area that becomes wet: the lid-to-bottle seam, the drinking opening or the bottle body. Then check the instructions for that exact lid.
This is an illustrative everyday scenario, not a KTT leak test. The first wet spot is a clue, not proof that a particular component has failed.
KTT diagram: locate the first wet area, then check the matching instructions.
Start with a dry surface
Water already on the lid, bottle or your hands can run down the outside and hide its starting point. Dry the exterior, use room-temperature water and close the lid as instructed. Observe ordinary handling beside a sink or catch tray. Keep the bag out of the test, and do not deliberately squeeze, drop or heat the bottle.
The lid-to-bottle seam
Look around the joint below the lid. Check for leftover surface water and whether the lid is properly closed. If water keeps appearing here, photograph the joint and consult the cleaning and parts guidance for this model. Do not assume every lid has a removable seal.
The drinking opening
Identify the actual design: a screw-top opening, a flip lid or a silicone bite valve. An opening left unclosed, a part not correctly reinstalled after washing and a damaged component are different possibilities. A wet surface alone does not establish which one applies.
The bottle body
Dry the area below the lid as well, so water running down from above is not mistaken for a body leak. If you see damage, or the body repeatedly becomes wet after drying, keep it out of your bag, use another container and ask the manufacturer or seller to assess it.
A soft part is not necessarily a removable part
CamelBak's eddy+ bottle FAQ identifies debris in the vent valve as one possible cause of leakage. It also warns against removing that rubber gasket for cleaning because it cannot be reattached. This is model-specific guidance, not a procedure for every straw bottle.
The manufacturer's eddy cleaning guide also cautions against forcing a brush through the silicone bite-valve slit, which can tear it. Check the correct cleaning and reassembly instructions for your bottle; similar-looking parts do not establish an identical design.
Describe where the water appears
For example: “It is an eddy+. After drying the exterior, the first wet area is beside the drinking opening during normal handling; the lower lid seam remains dry.” That gives support a useful observation. It is still a description, not a diagnosis.
Dry first, locate the wet area, then follow the matching instructions. If cleaning or correct reassembly does not resolve it, contact the manufacturer or seller with the model and clear photographs.
Checked 7 November 2026. KTT diagrams show generic locations, not a specific product, disassembly procedure or tested result. Follow the instructions for the exact model.